10 Tips for Making a Hobby Garden
Do you have a hobby garden, a private garden? If so, you have probably noticed the rebirth of the soil as spring is fast approaching.

We have written detailed information and tips on how to make a hobby garden especially for farmers who are bored with city life, who want to color their small rural life away from the city center, and who instill life in the soil.
1.Consider Your Hobby Garden Options
- You want vegetables ?
- A tree ?
- A flower ?
If you prefer a vegetable garden, you can start by identifying crops that you like to eat and that can be planted in season.
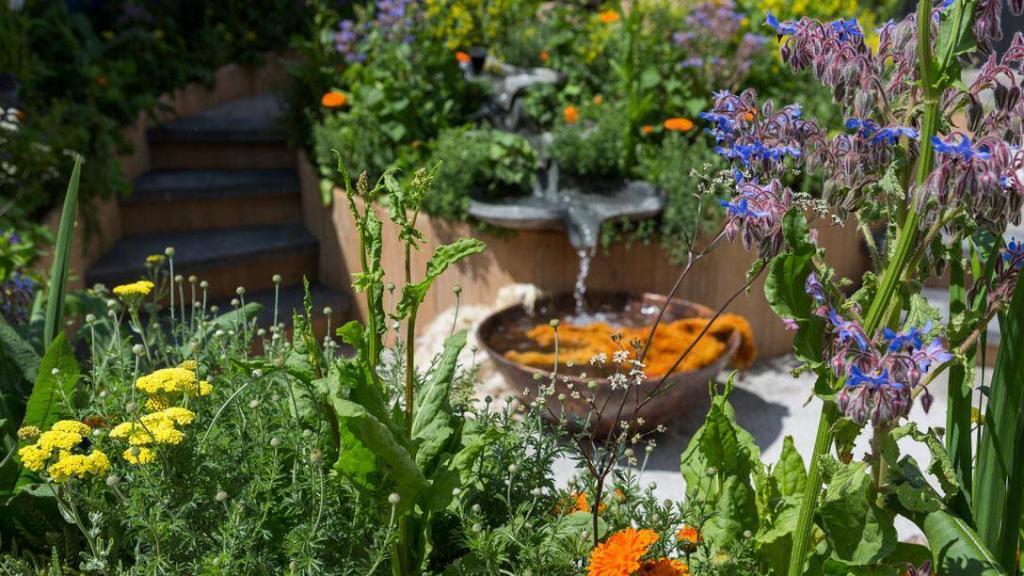
On the floral side, flowers that appeal to you with their colors and scents that you can care for tenderly. You can pay attention to planting flowers that bloom in summer and can be renewed every year. Your hobby garden seed supplier will give you good advice on this.
2. Choose the Right Spot for a Hobby Garden
Almost all vegetables and most flowers need 6-8 hours of full sun every day. Therefore, observe which side of the hobby garden gets more sun. Do not despair if it is too shady. You cannot grow tomatoes in the shade, but many other plants (ferns and hostas, for example) love shade.
This step is important to ensure that the light requirements of the plants are met. Be sure to ask your nurseryman or seed grower how much sun the plants you intend to grow in the hobby garden need.
Three additional tips: Choose a relatively flat location for the hobby garden, because a sloping garden is more difficult to deal with, both time-consuming and expensive. Check for windbreaks (e.g. your house or your neighbor’s house) that prevent plants from being damaged by strong winds. Make sure the garden is in an inconspicuous location.
3. Clean the Hobby Garden Floor
Remove accumulations of leaves, stones and weeds from the area you plan to plant. Get a rake so that you can easily clean the hobby garden with a rake.
Hoe the damp or wet soil to remove large pieces of soil such as stones and rocks. Do not forget to uproot wild plant roots.

4.Feed the Soil
The more fertile the soil, the more fertile the plant will be. Your soil may be excessively wet, poor, infertile or too acidic or alkaline. The solution is usually simple: Add organic matter. When digging up new soil, add rotten leaves, dry grass clippings or a layer of old manure.
5. Soil cultivation
Soil cultivation is essential to prepare new beds for planting. This is because it gives the roots easier access to water and nutrients in the soil. There are two methods: cultivation and digging.
Digging the soil can be done with a pick and shovel or with a small motorized scythe. If the hobby garden is large, motorized scythes are a very good method.
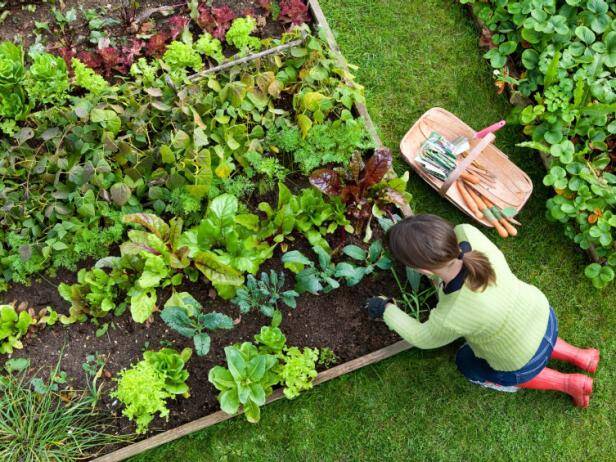
Digging is more practical for preparing small beds. Dig when the soil is moist enough to form a loose ball in your fist. Mix in the organic matter from step 4 at the same time and turn with a sharp spade to gently turn the top 4 to 8 cm of soil.
One more tip. Walking on prepared beds compacts the soil, so temporarily lay boards to distribute your weight.
6. Choose Your Plants for the Hobby Garden
First, we determined your hobby garden preference. After preparing the soil, choose the plants you will plant according to your preference. Decide whether you will plant these plants as seeds or seedlings and obtain them from your seed supplier.
7. Plant Your Plants in a Hobby Garden
Some plants like pansies, violets and kale like the cold, so you can plant them in the fall or late winter. On the other hand, tomatoes and most annual flowers prefer warm temperatures, so don’t plant them until the danger of frost has passed in your area.
Many plants such as lettuce and sunflowers are easy to grow directly from seed in the garden. Be sure to read the seed packet for information on sowing time, depth and spacing. If you are an adventurous beginner, you can start the growing season by sowing seeds indoors a few weeks before the last frost date.
Follow the instructions on the seed packet and place the containers on a sunny windowsill or, if you don’t have a window space, in a lighted place. Make sure to keep the seeds and seedlings moist, but not wet!
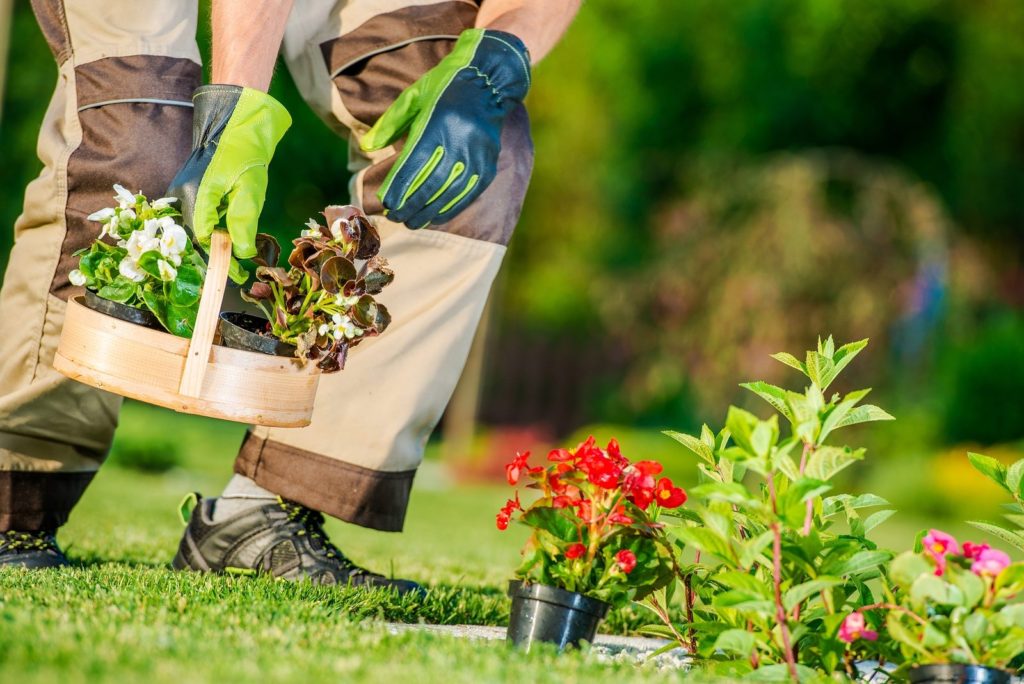
An easier way to start your garden is to buy plants as seedlings. You can easily plant your plants in the holes you have prepared according to the container of the seedlings.
Remove plants from the container by pushing up from the bottom. If the roots have grown up and surrounded the soil, use a fork or your fingers to loosen some of the outer roots before placing them in the hole. Finally, water it a little.

8. Water the Hobby Garden at the Right Time
Seedlings must never be allowed to dry out. This is why daily watering is vital. As plants grow, the need for water decreases. After that, how often you need water depends on your soil, humidity and rainfall.
Clay soil dries out more slowly than sandy soil. Sunny and windy conditions dry out the soil faster than cool and cloudy weather. Make sure to water early in the morning to minimize evaporation.
If you will supply your water needs from the well, you should definitely get a submersible pump . Another option is to supply water from the minus code, you can also choose a centrifugal pump. To avoid difficulties when choosing a pump, read the points to be considered in pump selection.
9. Protect the Hobby Garden with a Shovel
Spade the soil a few inches to keep weeds and moisture in. You won’t have to water your hobby garden as often, and by preventing sunlight from hitting the soil, you prevent weed seeds from germinating. To nourish the soil, sprinkle organic matter such as fragrant cocoa bean shells.

10. Continue
Your hobby garden is starting to grow. Help it reach its full potential by keeping up with the gardening.
- Water the plants.
- Remove weeds before growing.
- Get rid of dead, dying and diseased plants.
- Remove destructive insects by removing them from the plant and dropping them in a bucket of water (e.g. tomato hornworms) or spraying them with insect repellents with spray pumps.
- Support tall plants (e.g. tomatoes) with a trellis, stake or rope. Do not leave short plants in the shade of garden walls. They need to get some sun 😀
Tip : In vegetable or fruit gardens, harvest as soon as the harvest is ready. Do not leave it on the branch. Crops standing on the branch ripen over time and spread bad odors and diseases.
If you have enriched the soil with organic waste before planting, you may not need to fertilize another time. Some vegetables (e.g. tomatoes, maize) are heavy consumers of nutrients and may need a quick-release fertilizer every three to four weeks. Ask your seedman for help and always read and follow the instructions on the fertilizer carefully.
Here’s a short, SEO-optimized paragraph incorporating your keywords:
Taking up a new pastime can be incredibly rewarding, and for many, gardening as a hobby offers a perfect blend of relaxation and accomplishment. The simple act of planting hobby seeds and nurturing them into vibrant plants can be incredibly satisfying. Whether you consider gardening a hobby or a deeper passion, it’s a fantastic way to connect with nature. Many people find joy in hobby gardening, exploring different techniques and plant varieties.
Exploring garden hobbies can lead you down many paths. From tending a simple window box to cultivating a sprawling vegetable patch, gardening hobbies offer something for everyone. Hobby planting is a great way to de-stress and create something beautiful. If you’re wondering how to start gardening as a hobby, begin small and focus on plants that are easy to grow. The hobby of gardening can quickly become a lifelong love. Thinking of it as a growing hobby will help you stay motivated as you learn.
Ultimately, is gardening a hobby? Absolutely! It’s a fantastic way to spend your time, and there are countless ways to personalize your garden hobby. Whether you call it gardening hobby, hobbies gardening, or simply enjoying your hobi garden or hoby garden, the benefits of tending to plants are undeniable. Some might even say their hobby is gardening, and consider their hobby and garden as the perfect escape.
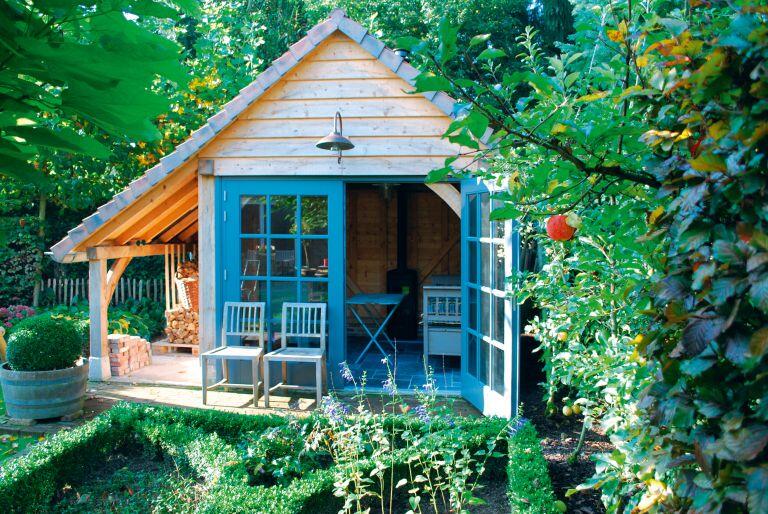
Hobby Garden Examples
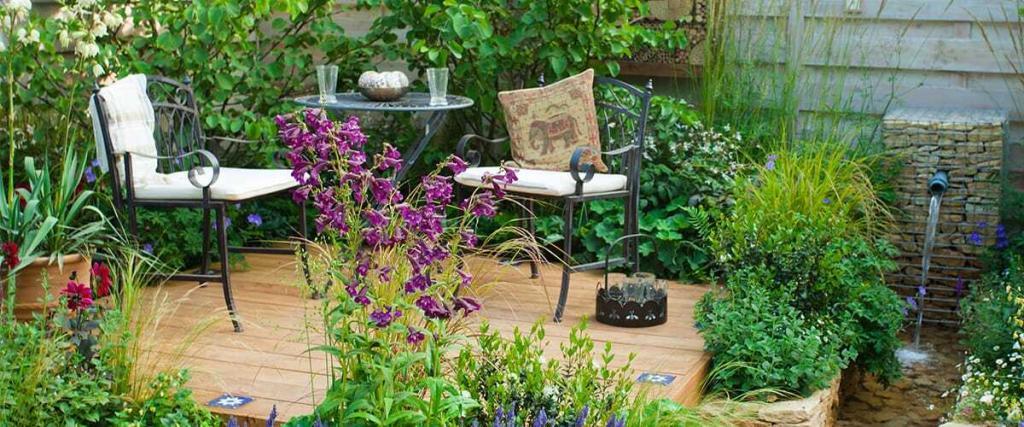
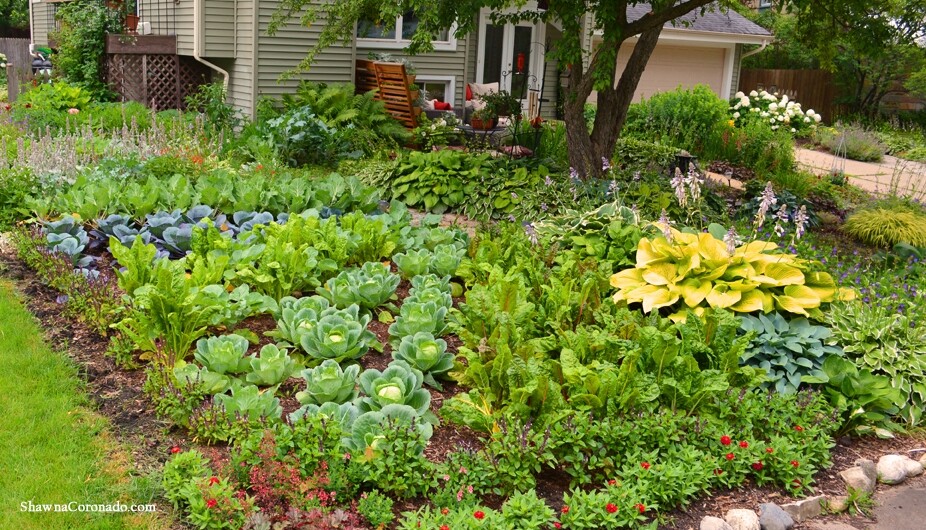
Finally, we have shared some examples of hobby gardens to inspire and motivate you. Take a look at the photos one by one. In this blog post, we have shared some tips for those who want to make a hobby garden. Click here for different gardening tips .
I hope it was useful. May your harvest be bountiful…I hope it was useful. May your harvest be bountiful…


