3 Tips on How to Clean a Ventilation Fan
One of the most neglected issues in cleaning bathrooms, toilets, kitchens and storage rooms is how to clean a ventilation fan. Have a clean and functional fan.
Table of Contents
It can reduce bad odors as well as mold and mildew. If fans are not cleaned for a long time, it can be dangerous for health.
By cleaning your fan every 6 months, you will take advantage of both your own health and the lifetime of the fans. How to clean the ventilation fan you can do it quite easily.
How to remove the ventilation fan?
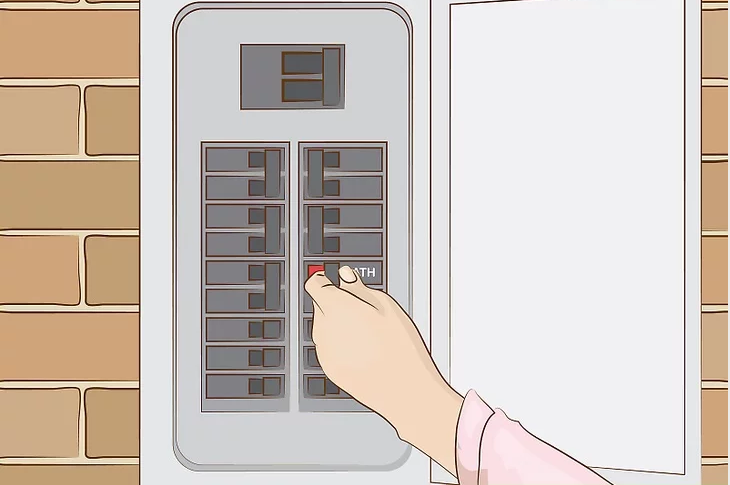
- Always make sure to close the fuse before starting cleaning and do not open it until cleaning is finished. Most models have a plug located directly behind the cover. Let’s continue with how to disassemble the bathroom ventilation grille.
- You can first remove the cover and unplug the extractor fan, but it is much healthier to turn off the fuse.
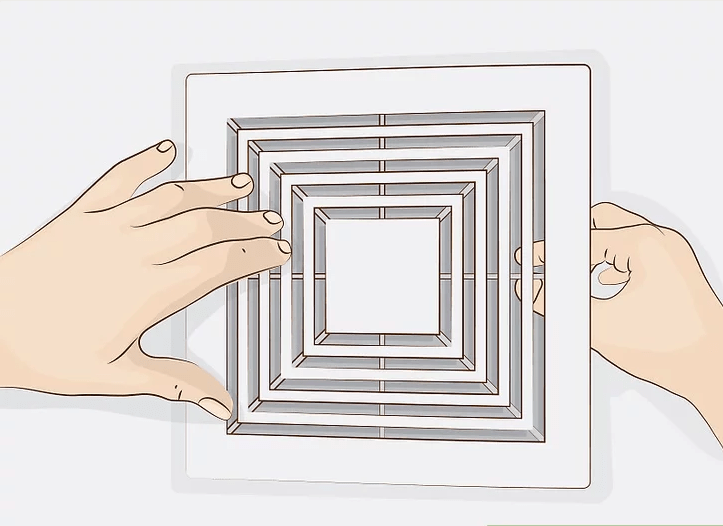
- Remove the cover of the extractor fan. When the cover is removed, dust will fly and fall. To avoid dust, position your ladder so that it can reach the lid but not stand directly underneath it.
- Most lids have two-sided tabs or screws to hold them in place. Remove the cover by pressing these tabs or unscrewing the screws, then set the cover aside.
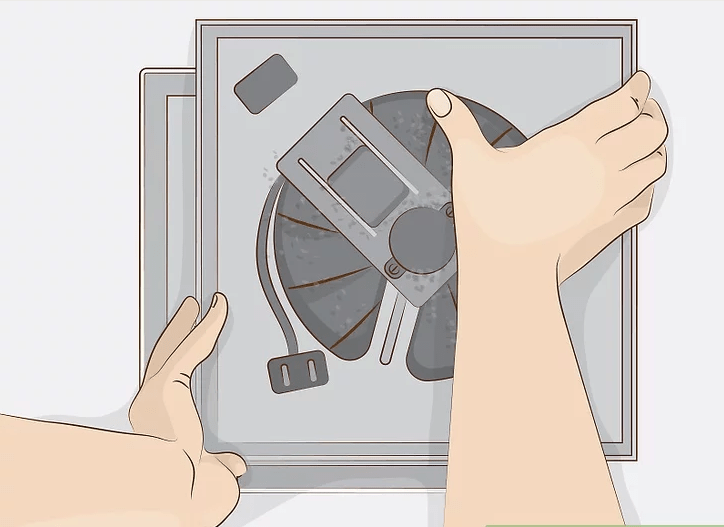
- Remove the fan motor and housing. Unscrew the assembly holding the fan in place, then gently remove the fan. Be careful not to drop the fan or knock it against the ventilation pipe, otherwise the fan blades may break. Broken fan blades will cause the fan to consume more energy and be less effective.
2. How to Clean a Ventilation Fan and Cover Ventilation Fan?
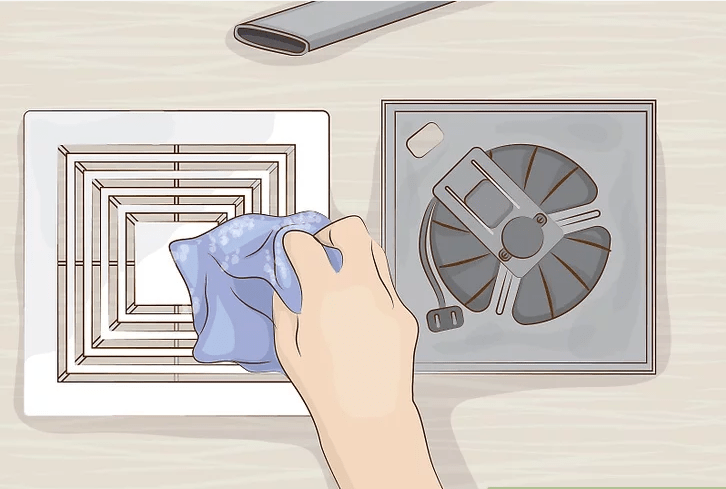
- Clean the cover and fan. Start by wiping off most of the accumulated dirt from both the cover and the fan. Then dip a cloth, preferably a microfiber cloth, in soapy water and use it to wipe away any remaining dust. Try to be as meticulous as possible, you won’t be cleaning for a long time
- You can allow the cover to soak with hot soapy water, but the fan should be wiped by hand or with a dry cloth to prevent water from entering the motor assembly or plug.
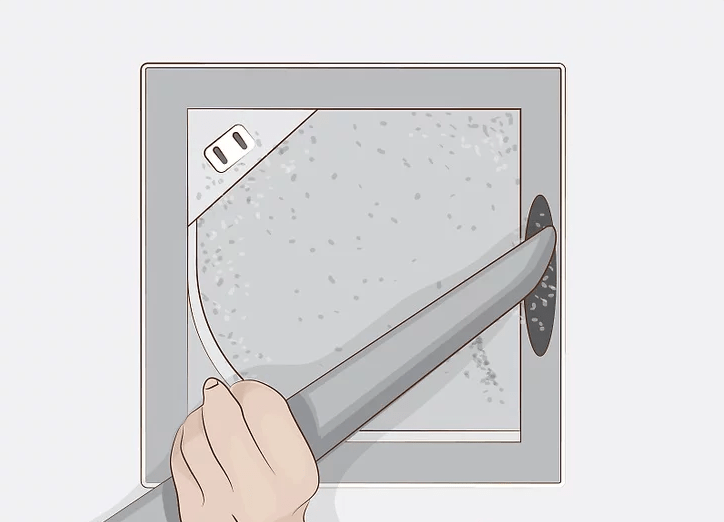
- Clean the ventilation pipe or ventilation duct. You can do this with a broom. Use a crevice or brush attachment. If you can reach it, you can use a cloth to wipe away the tiny dust that the vacuum cleaner cannot get to.

- If there is a grille or grill on the other side of the fan, clean it as well. This can also be done after the cleaning is complete. Depending on where the extractor fan is located, this ventilation will either be on the roof or on the side of your house.
3. How to Install the Fan?

- In our previous blog post, we wrote in detail how to install a ventilation fan starting from scratch. If you are going to buy a new fan or want to replace an existing fan, I recommend you read it. Follow the steps below to install the fan that was removed during cleaning.
- Put the fan back in place. Before reinstalling the fan, make sure to clean the dust from each of the blades and dry them thoroughly. Carefully insert it into the ventilation pipe and screw it into place. Use your fingers and turn the fan a few turns to make sure it doesn’t rub against anything.
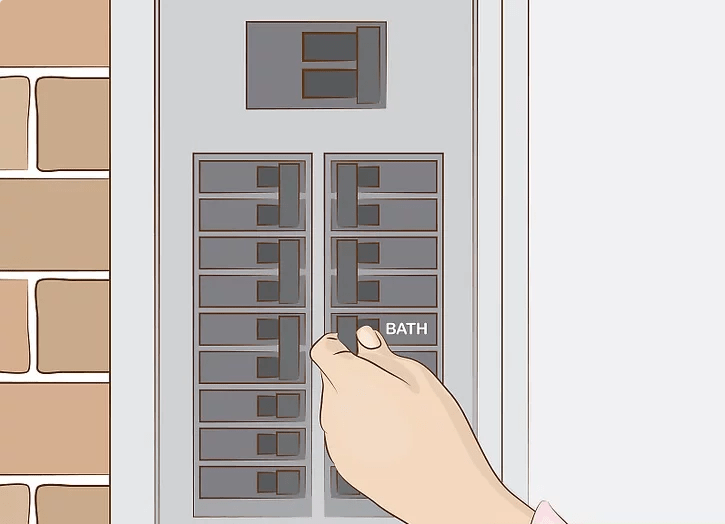
- Open the fuses. Plug the fan back in. The fan is now dangerous again, so do not touch it or continue cleaning it beyond this point.
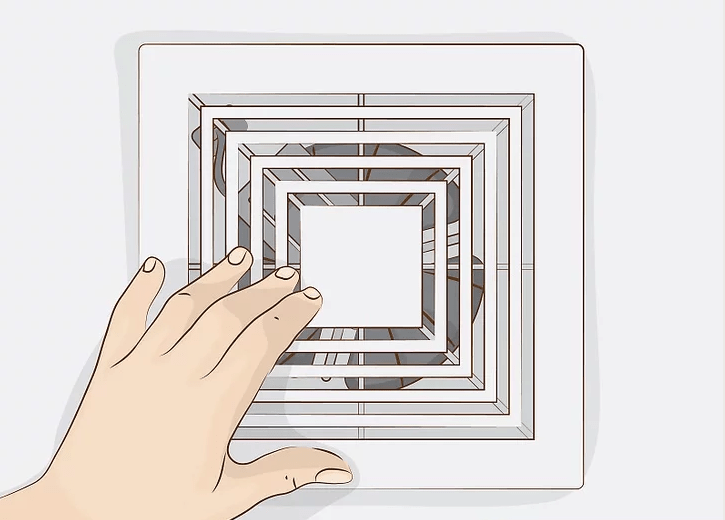
- After the cover has dried, screw it back on or make sure the threads are engaged.
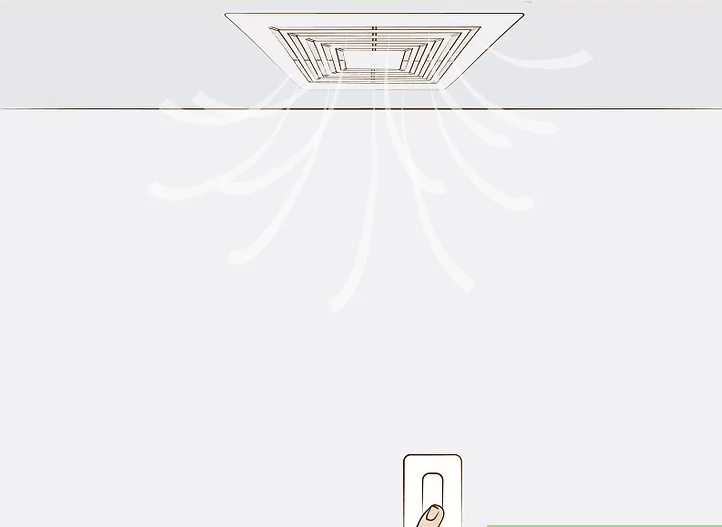
- Test the fan. Run the fan to make sure that everything is working normally. The fan should be quieter and provide a higher amount of airflow than before.
The fans you use in your home or workplace must be cleaned regularly. Don’t forget to add cleaning ventilation fans to your cleaning habits.

